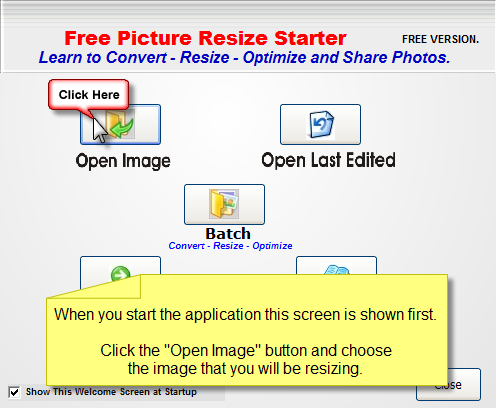
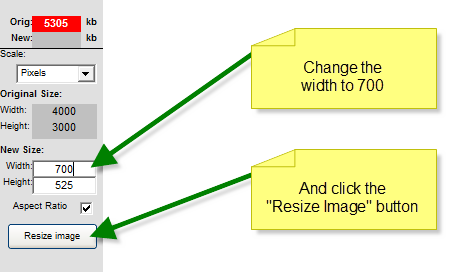
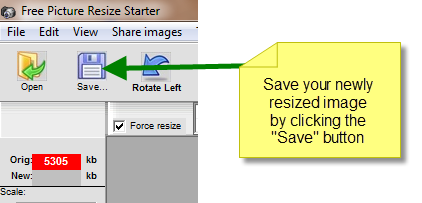
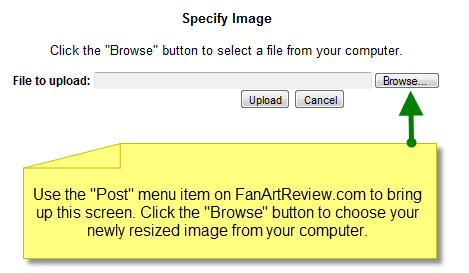
|
We provide three free applications for simple and fast resizing of images.
If using a PC we recommend Image Resizer. Please click here for a free download. To resize your image with this utility choose "JPG" from the tab view and enter "700" for the pixels. Next, choose "Resize". Your image will be created (with a different name from the original) in the folder you selected the original image in.
If using a Mac we recommend RapidoResizer. Please click here for a free download.
Irfanview is a third option and we include a tutorial on how to use it below. It provides more control over how your final image will be resized. To download a free copy of Irfanview click here. This is an application for the PC which has additional features. The purpose of this brief walk-though is to give you step-by-step instructions on resizing your images using Irfanview. After installing, open Irfanview and follow the instructions below.
|
First, open your image. Go to the "File" menu item and choose "Open".
|
|
Bring up the resize dialogue by choosing "Image" and "Resize/Resample" from the menu.
|
|
Change the Width to 800 or smaller (recommended size is 700). The height will change automatically but can be adjusted if necessary. Change the DPI to 72. Press the "OK" button to save all dialogues.
|
|
Choose the "Save As" menu item.
|
|
Be sure "JPG" is the selected save format.
|
|
If "JPG" is selected a small window will be shown with JPEG specific properties. Change the "Save quality" to 50. Save your resized image.
|
|